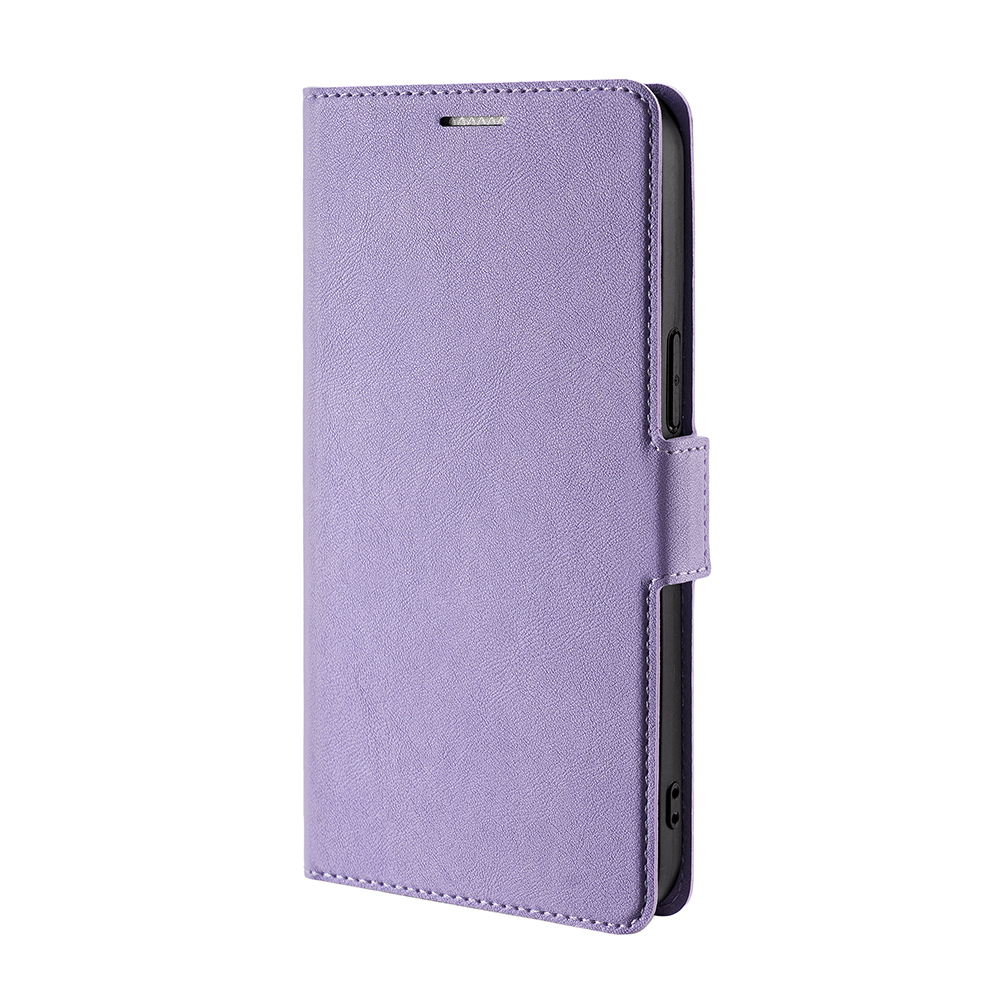
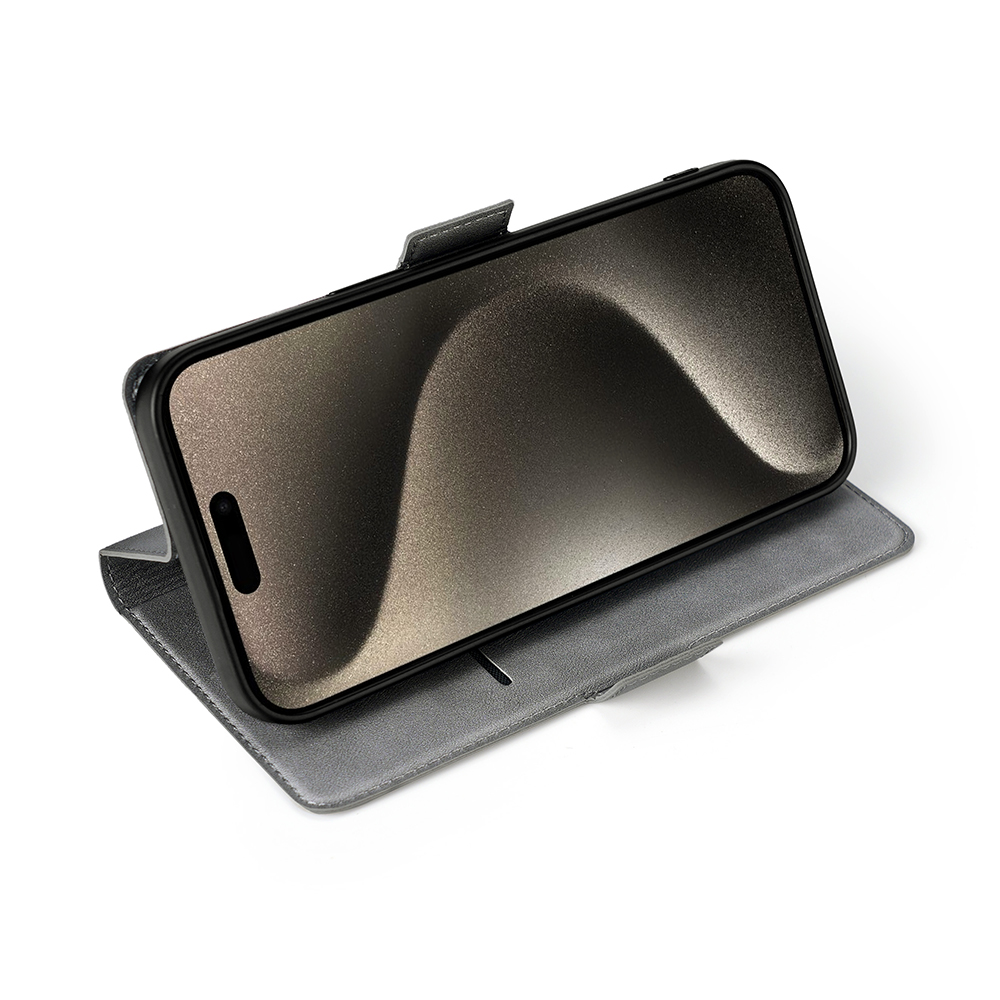
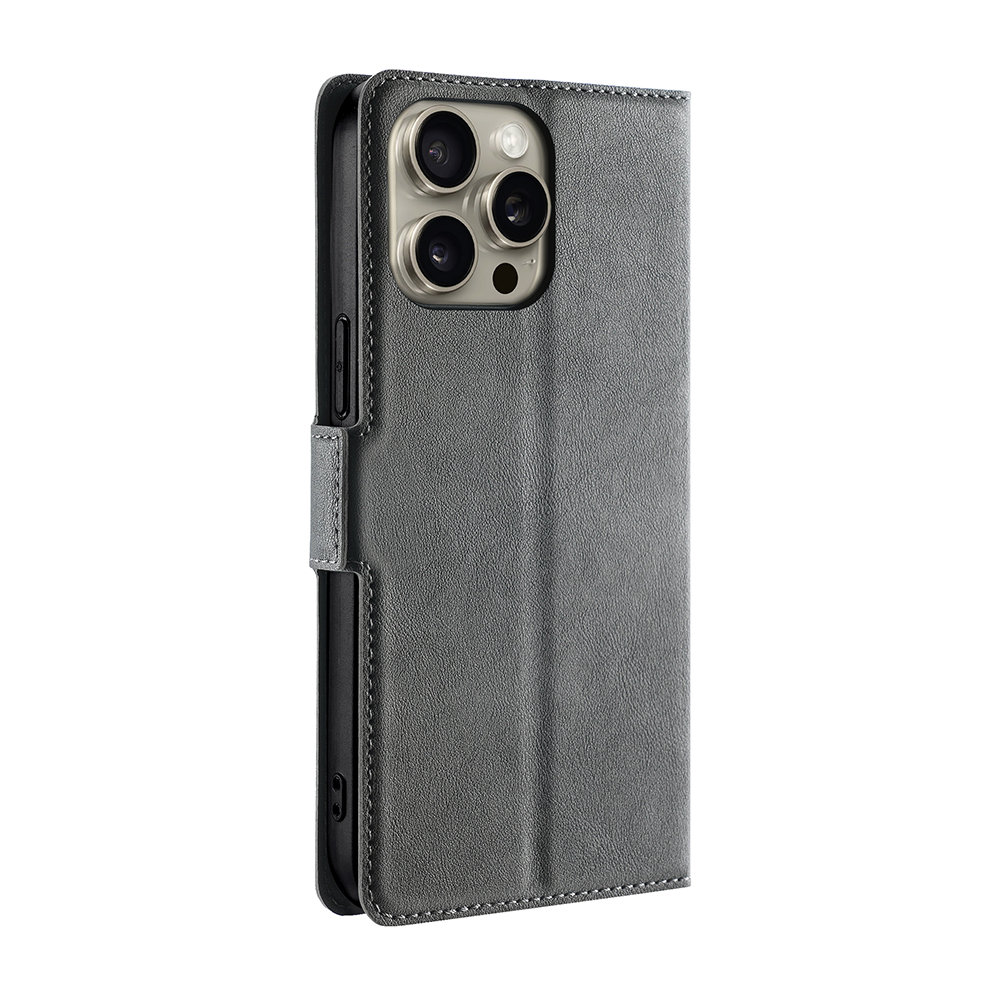
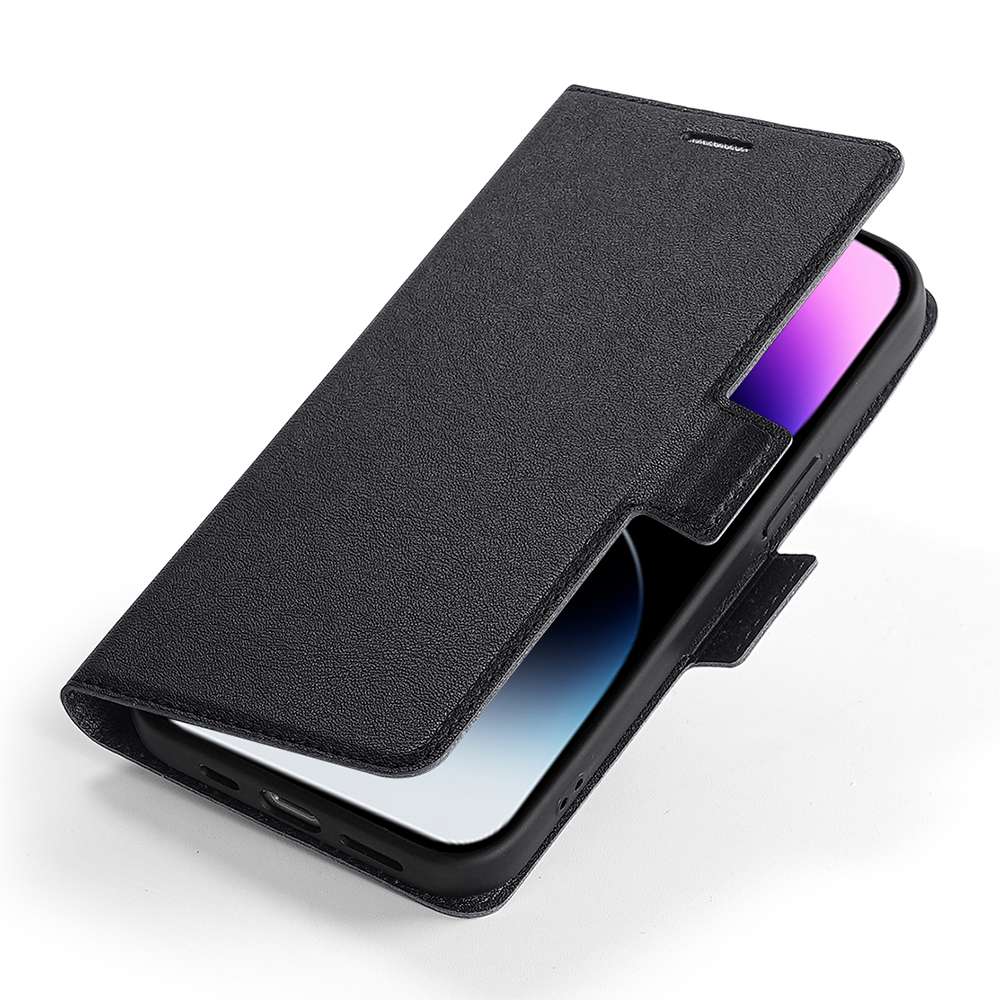
Step-by-step: how RF Safe cases are made
The timeline below follows the sequence described in the live manufacturing article and pairs it with the image set published there, so visitors can see the entire build from raw cut pieces to finished product. [1]
1
Outer materials
Press-cut the outer skin layers with alignment holes
The process begins by cutting the outer skin material with an industrial press. The article says presses are used in five different steps overall, and that the corner alignment holes are cut here to keep every layer centered precisely later in the build. [1]
2
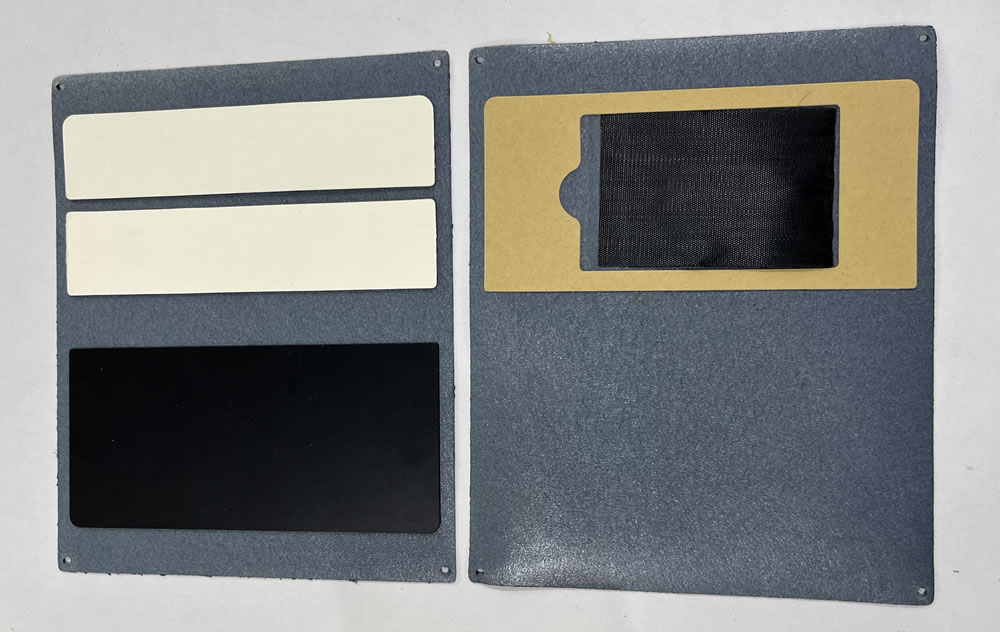
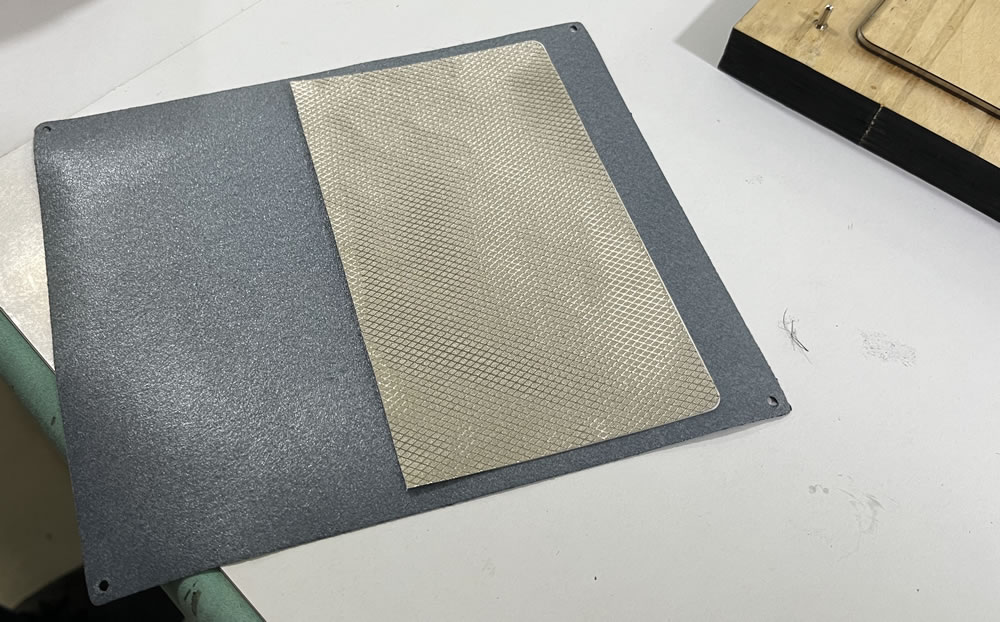
Shielding layer
Cut the conductive front-cover shielding separately
The shielding material is cut in its own step. RF Safe’s manufacturing page emphasizes that this is the most critical layer because it must cover the full front of the phone when the case is closed, while avoiding the back. The article explicitly says shielding only part of the device between the user and the transmitter makes no sense. [1]
3
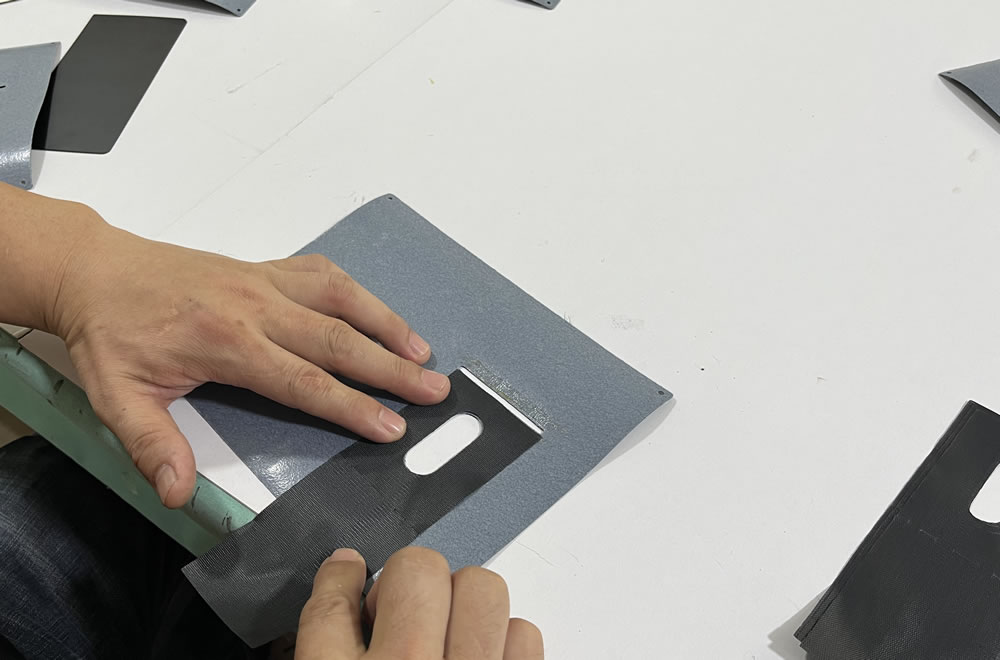
Hand assembly begins
Glue and internal slot materials are added by hand
With the basic layers cut, hand assembly begins. The article shows glue being applied by hand and the card-slot liner being positioned manually, reinforcing that this is not simply one machine stamping out a finished folio in a single pass. [1]
4
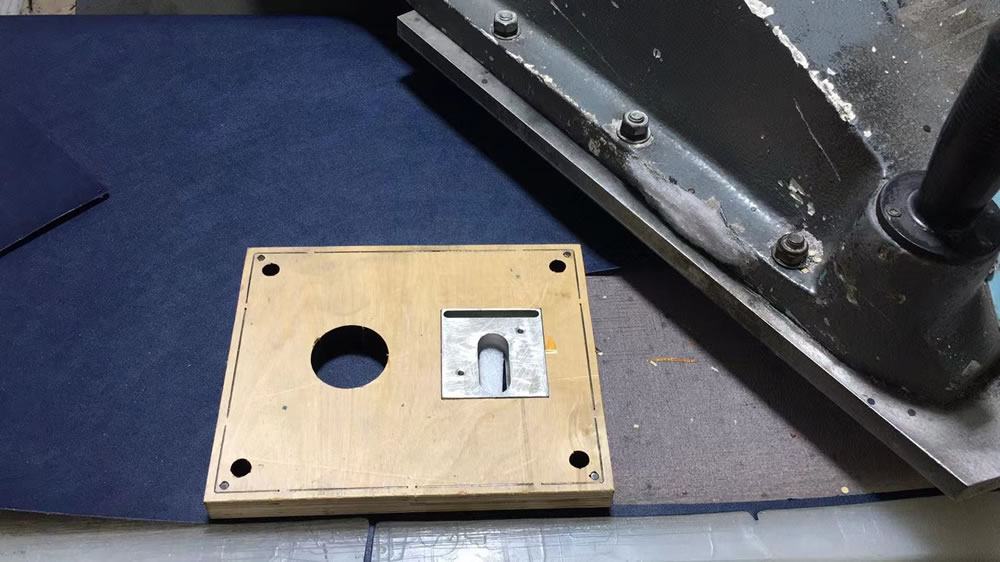
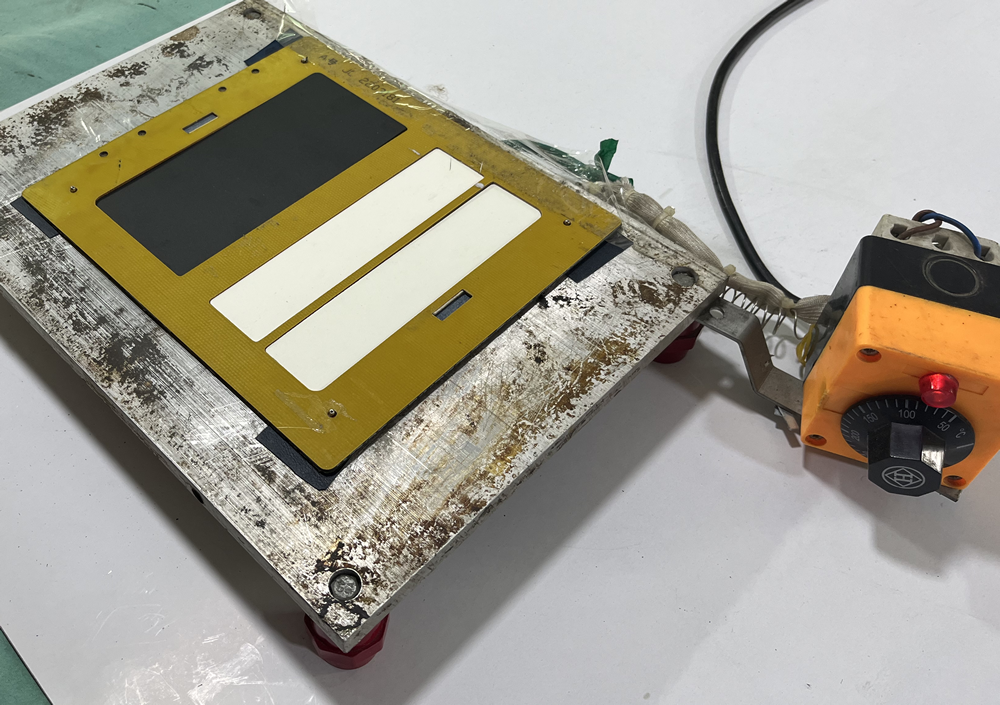
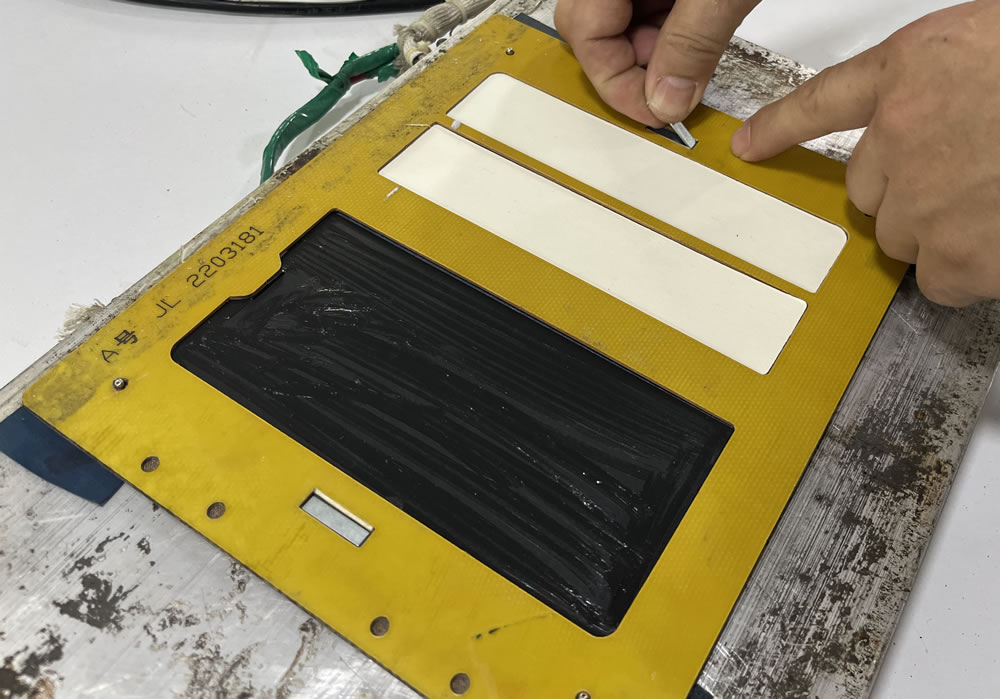
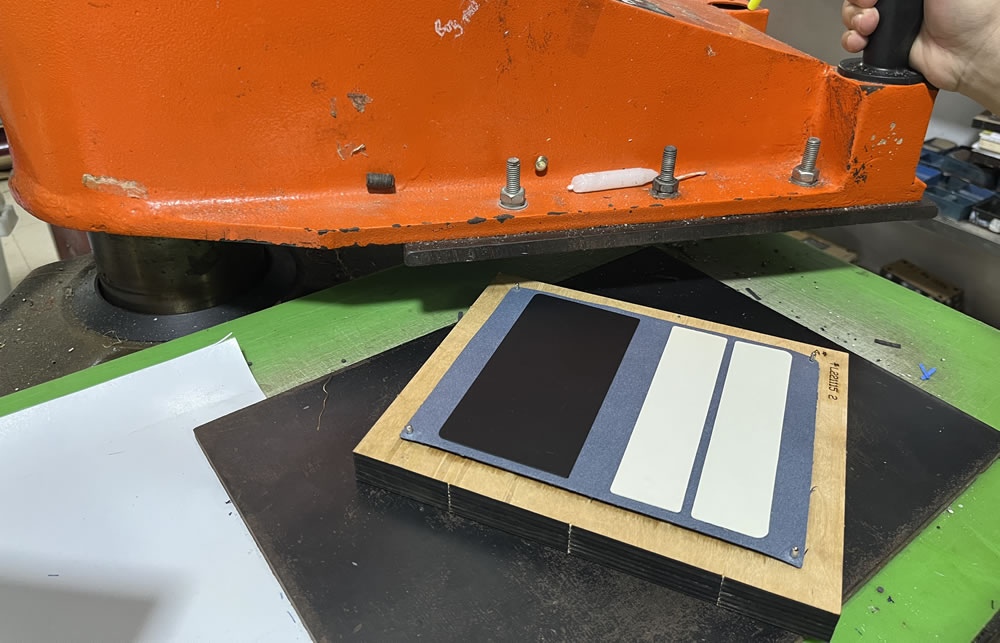
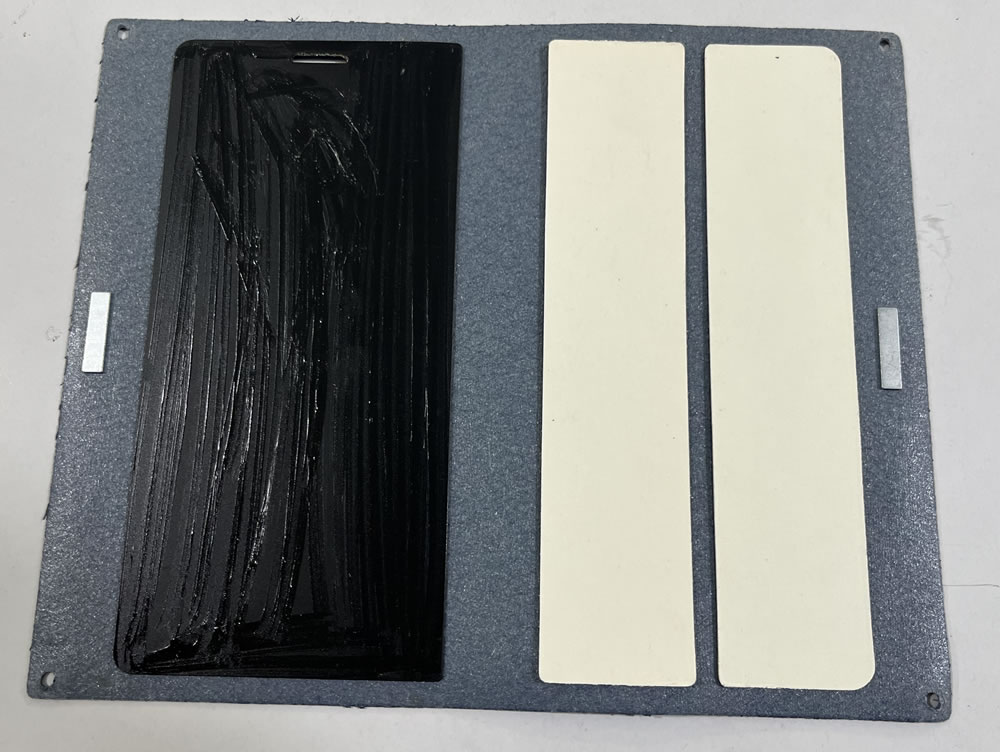
Mold preparation
Prepare the mold, support layers, and latch hardware
The manufacturing mold is prepared, non-conductive support components are laid out, and the side-latch magnets are placed into position. This is the stage where the structure of the finished folio begins to take shape before the main layers are sealed together. [1][2]
5
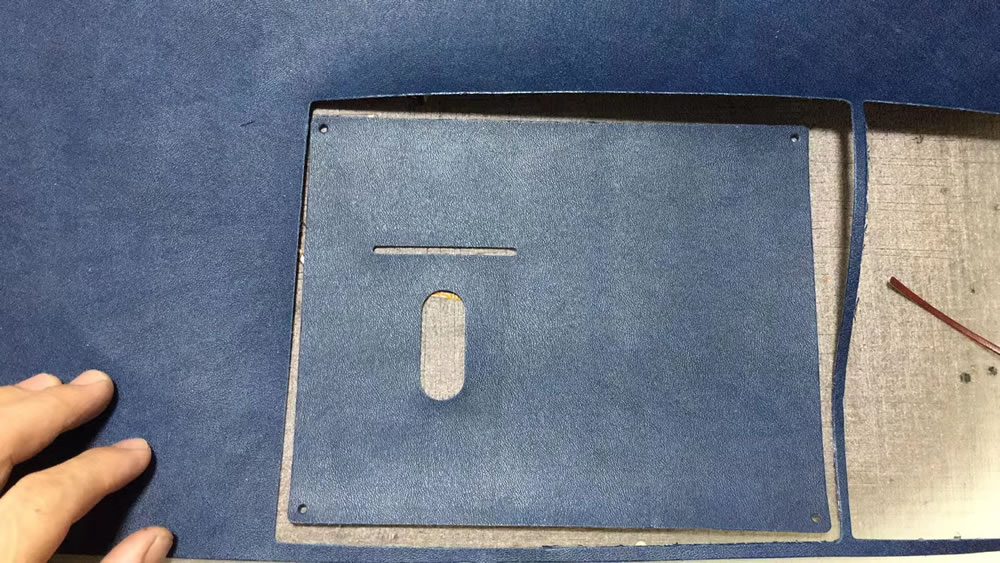
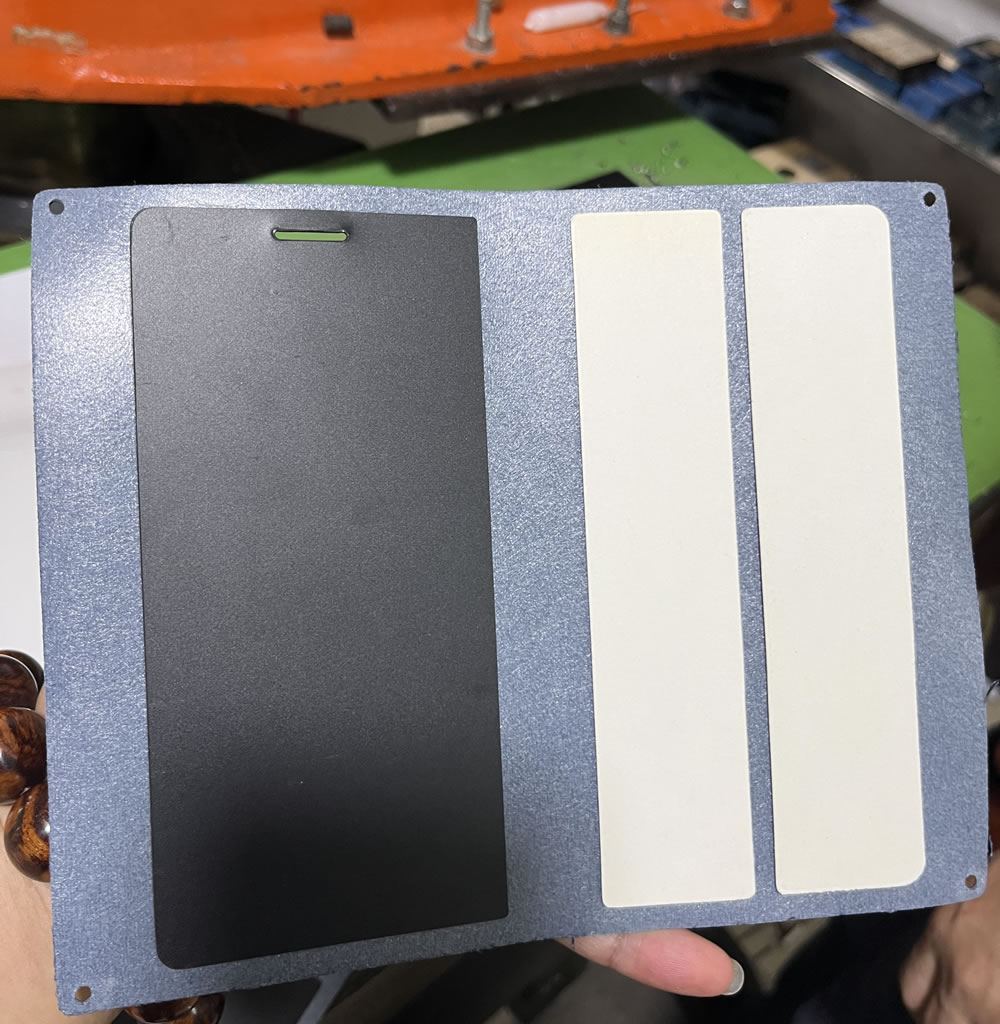
Layer alignment
Seal support components and align the shielding layer
The press permanently seals the non-conductive support components to the exterior layer. From there, the shielded layer is placed and aligned using the corner holes. This is where the process moves from separate parts to a coherent layered structure ready for the heavy press. [1]
6
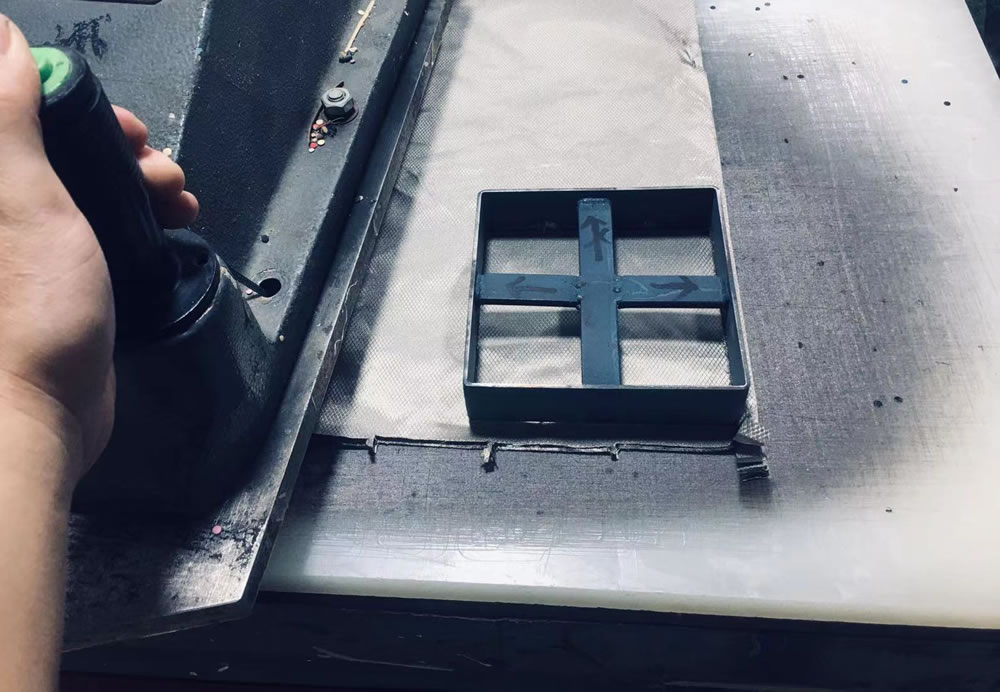
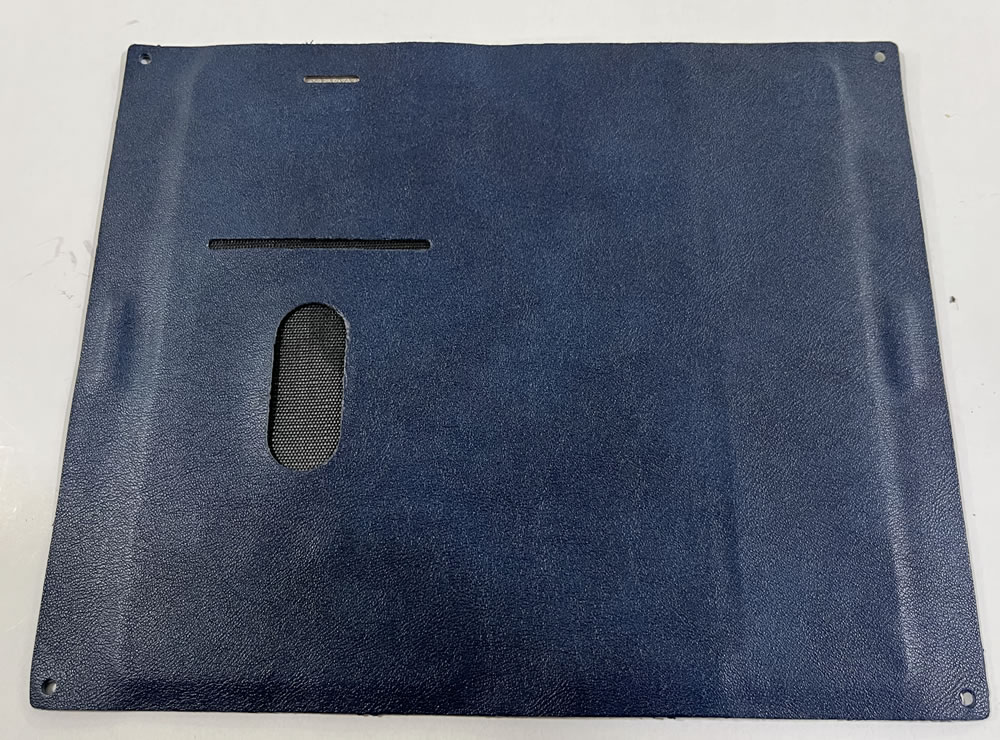
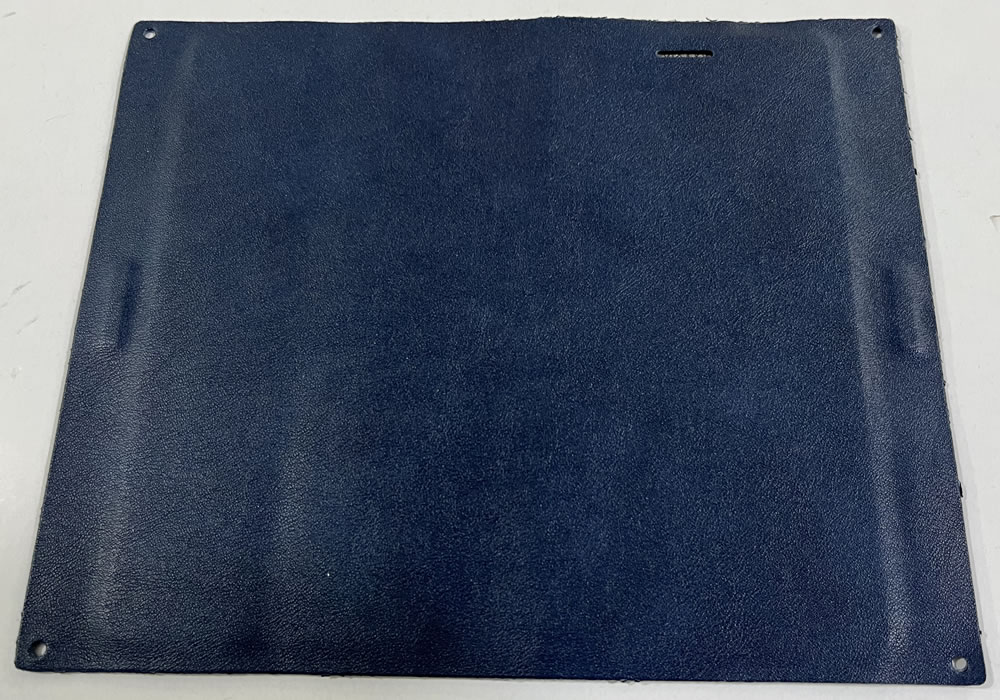
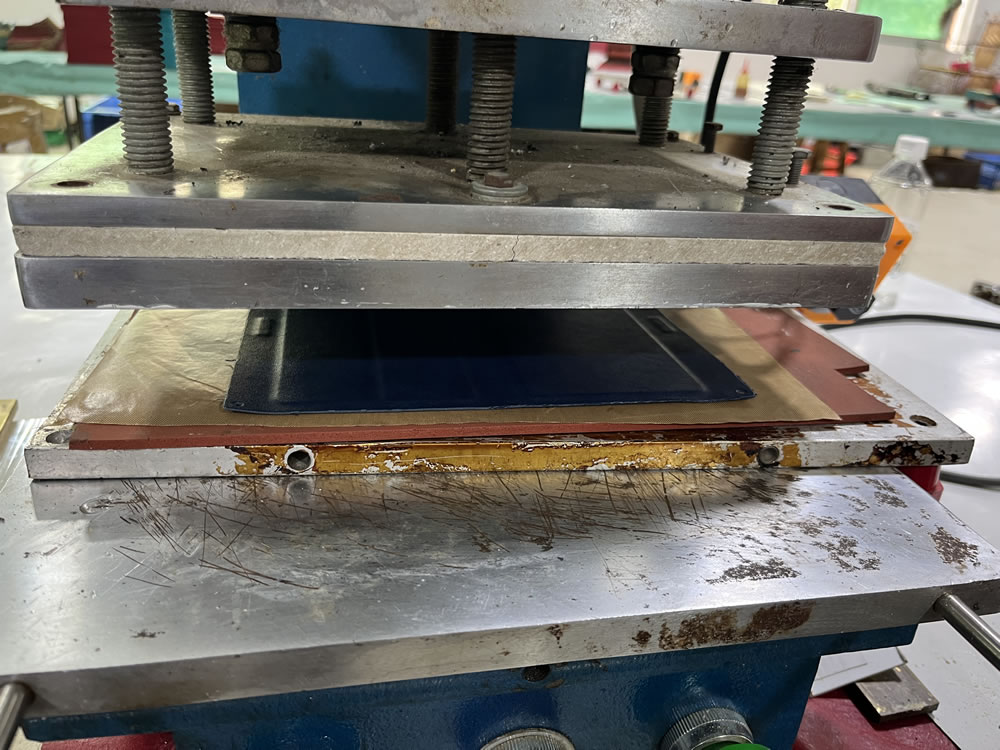
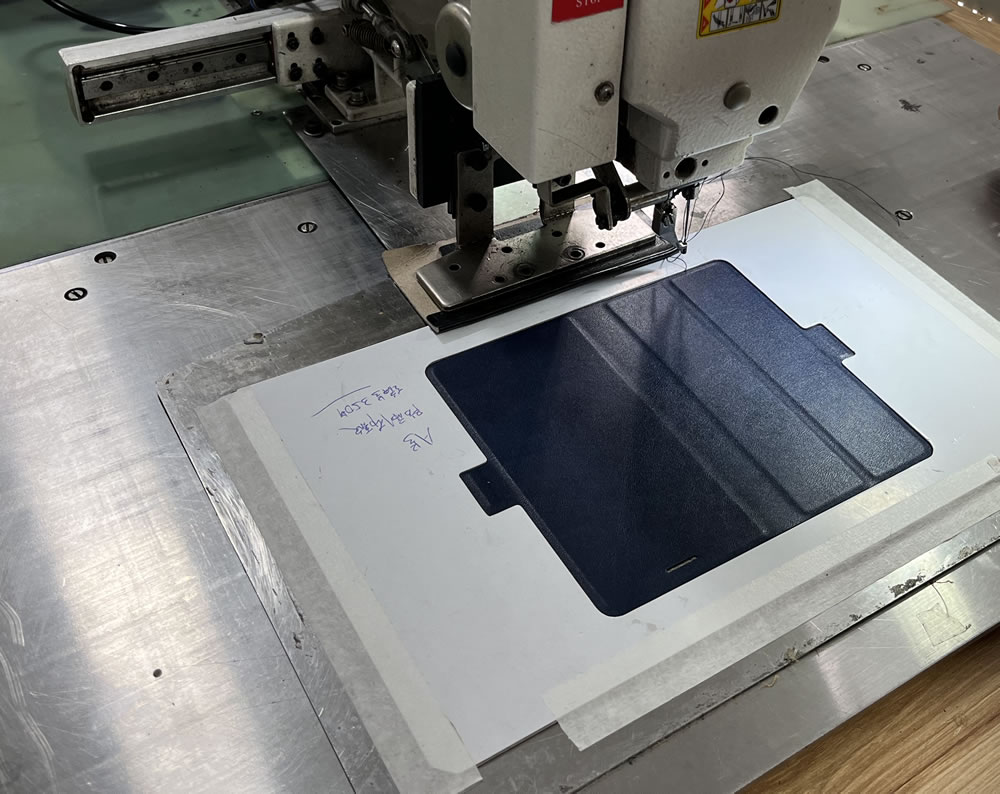
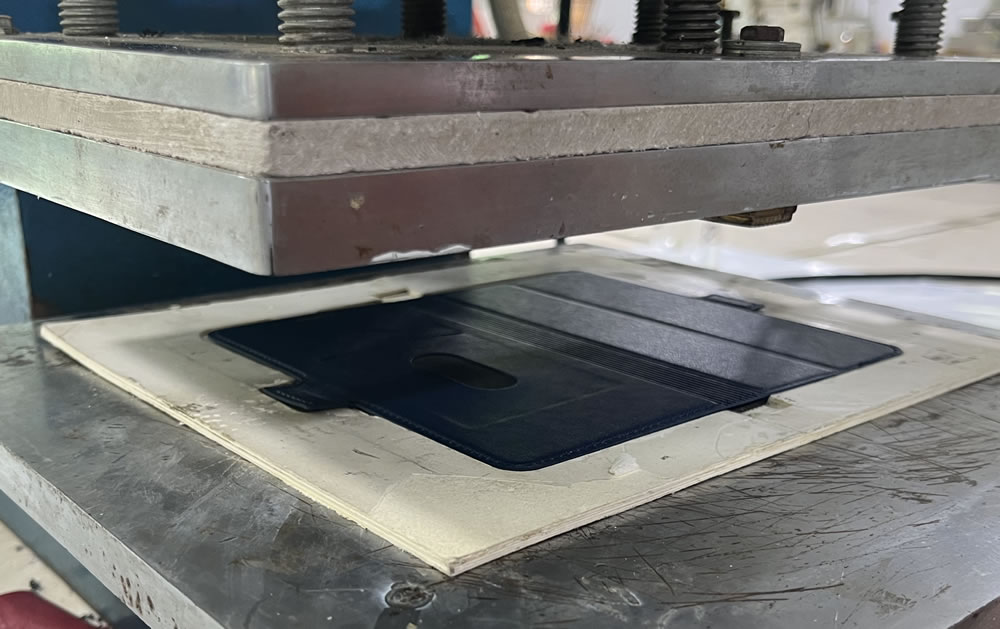
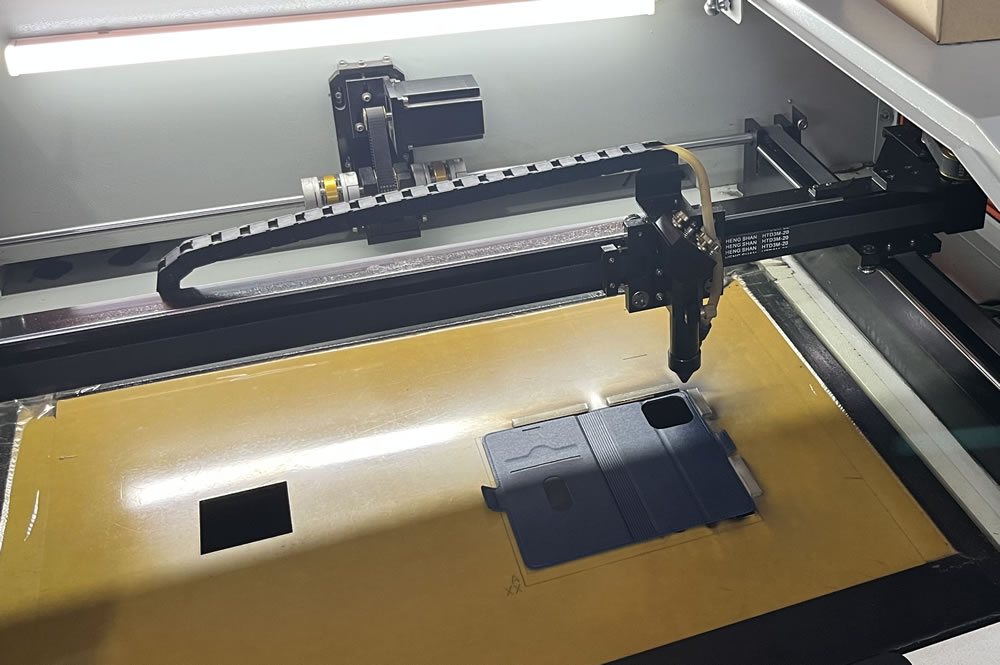
Main lamination
Lay the shielding, assemble the layers, and bring on the heavy press
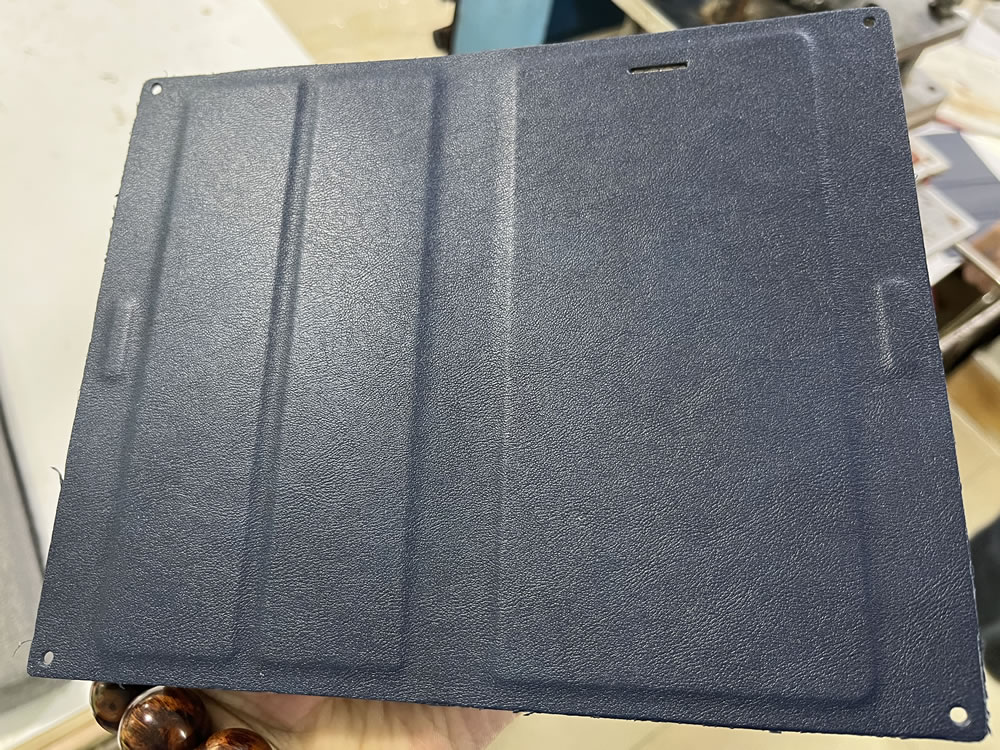
Once the shielding sheet is placed, the layered folio is assembled and sent into the heavy press that seals the main structure together. The article then shows the case beginning to take its recognizable form on both the inside and outside views. [1]
7
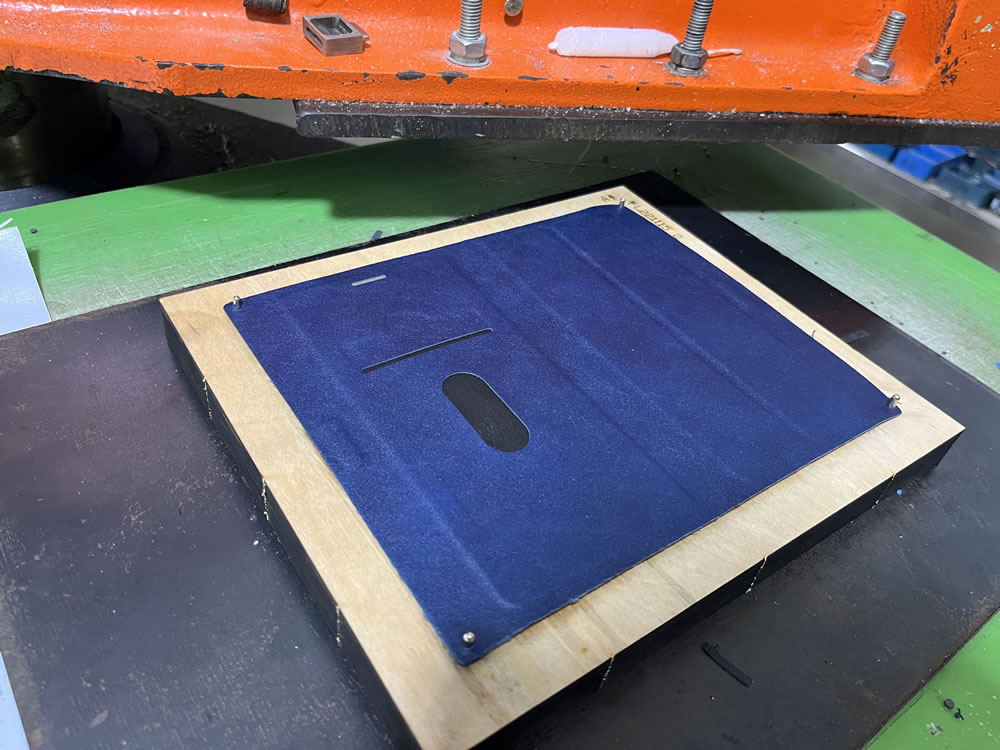
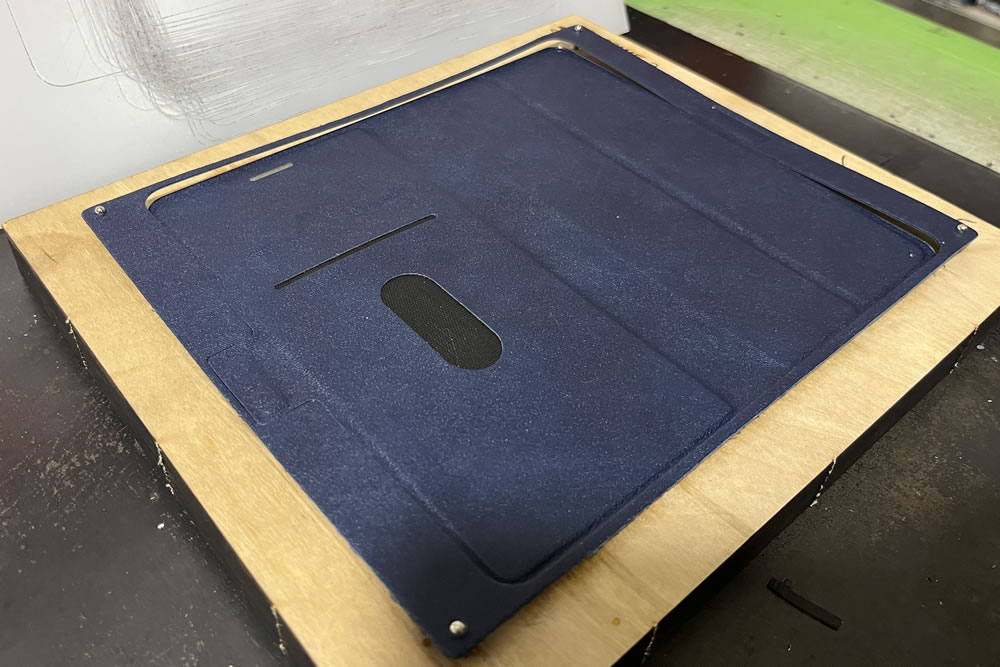
Edge profiling
Trim the alignment holes and cut the final exterior profile
The article describes this as the last time the alignment holes are needed. Another press trims the perimeter to its final form, removing the alignment tabs and creating the edge profile that will later be sewn and refined. [1]
8
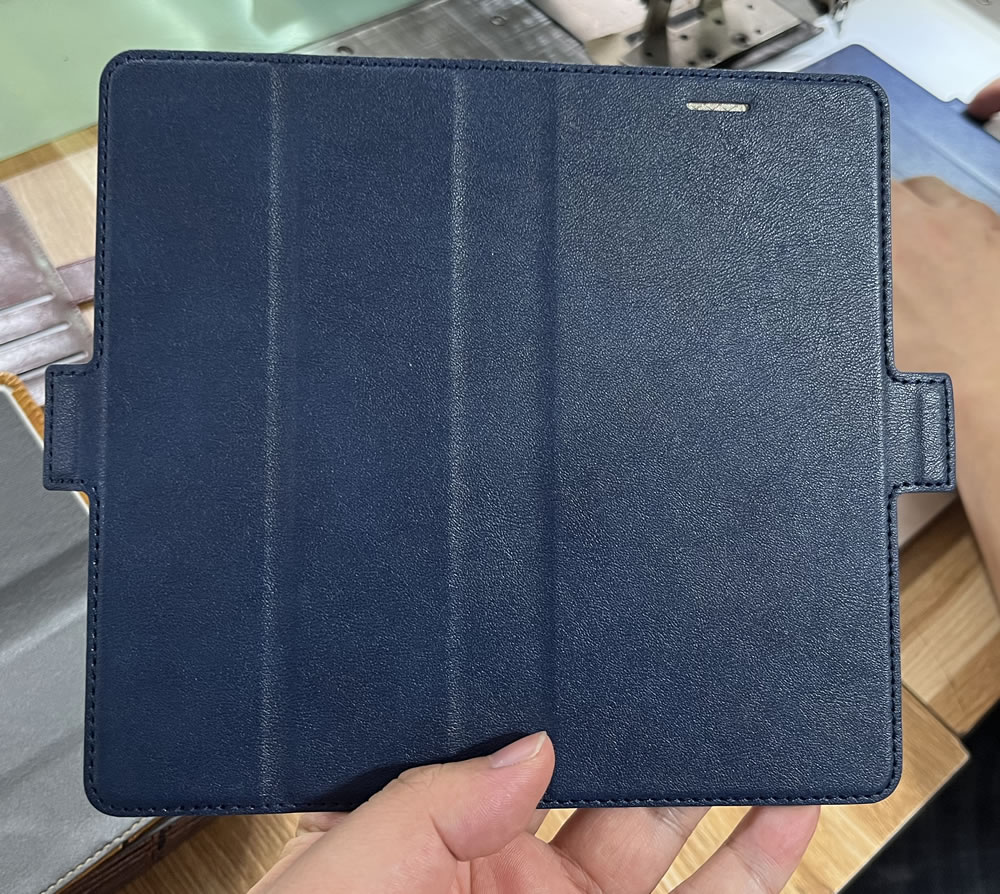
Sewing & reinforcement
Programmed sewing and another press step refine the structure
The manufacturing article shows a programmed sewing stage intended to keep the stitching consistent from case to case, followed by another press step in the design. This is part of how the folio gains its finished seams and more stable geometry. [1]
9
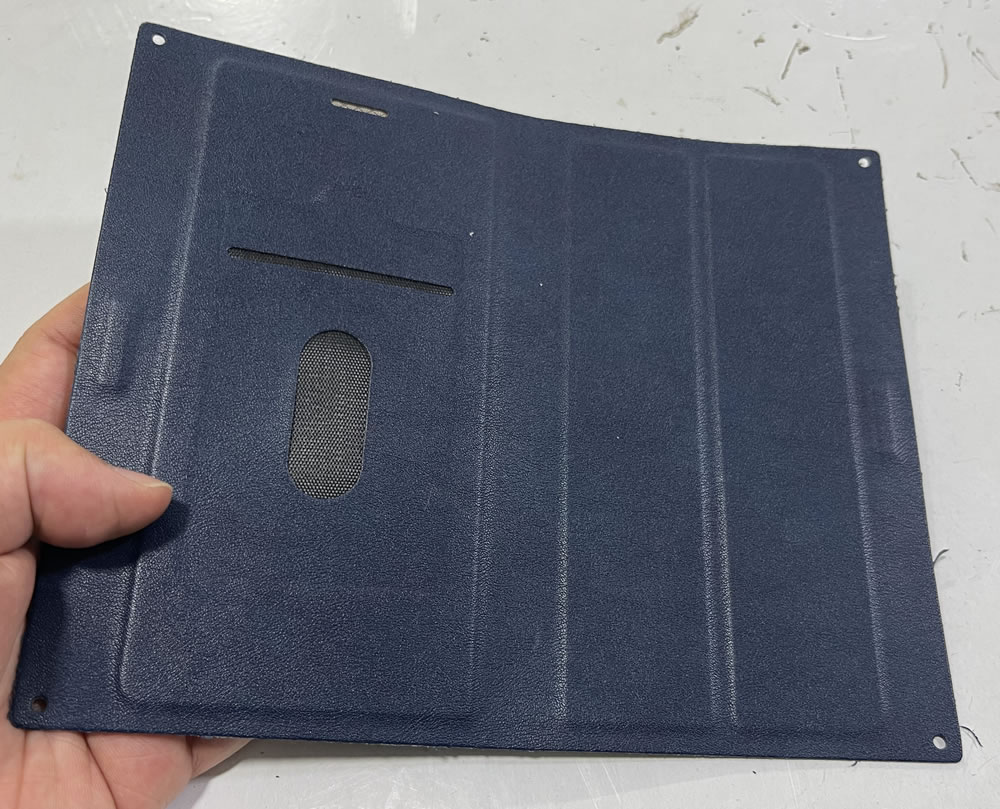
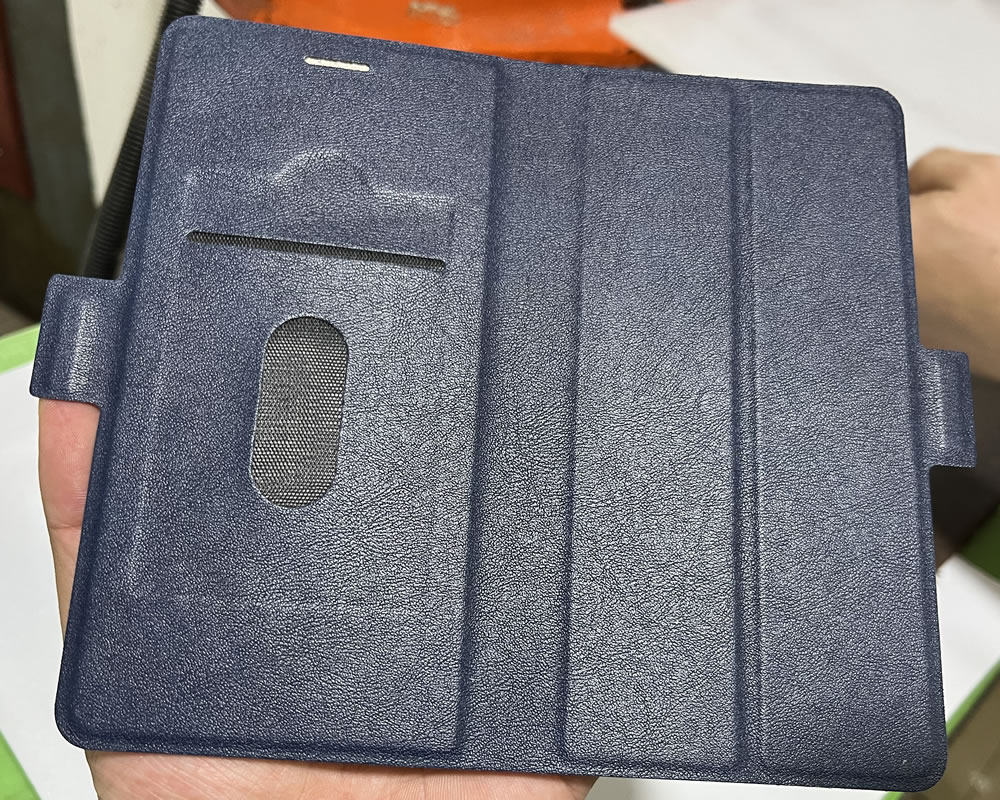
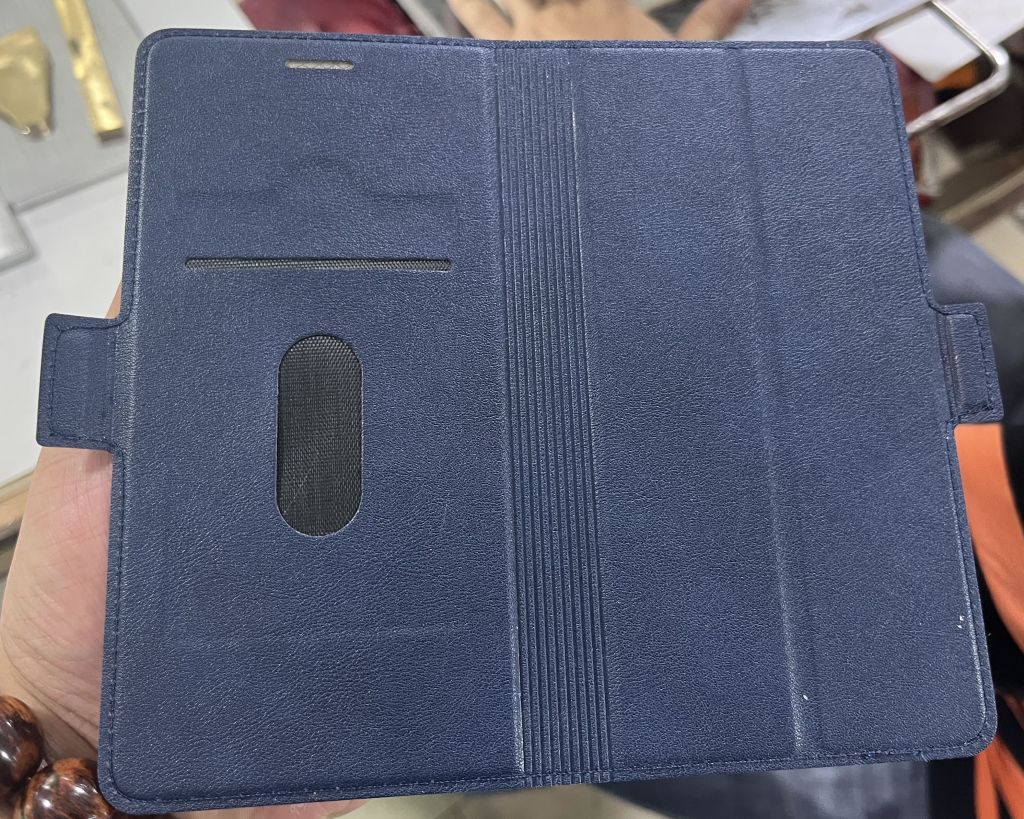
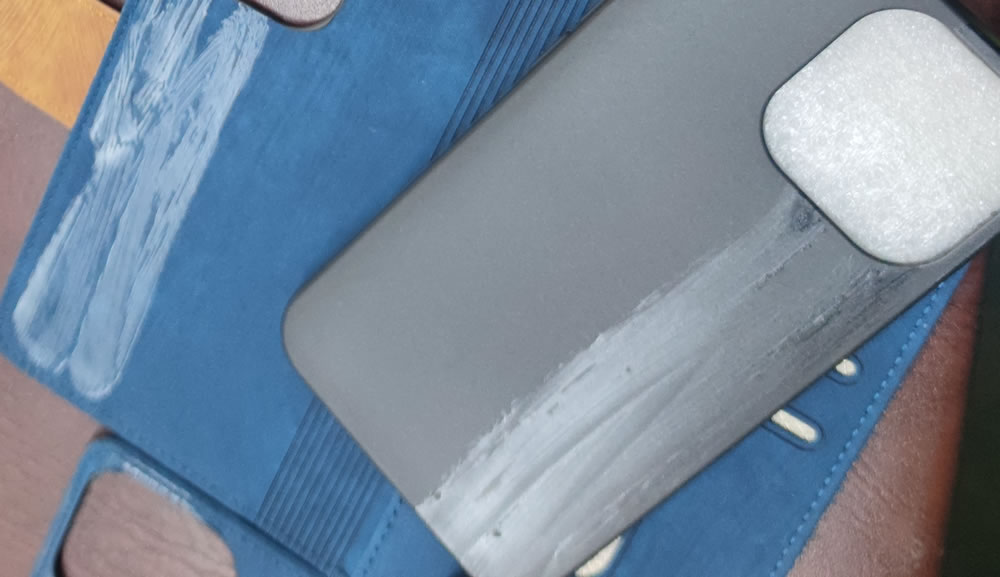
Touch-up & cutouts
Touch-up, camera opening work, and hand finishing
After the main body is sewn and pressed, the article shows the case ready for touch-up, a camera cutout process, and additional hand finishing. This is where the difference between “assembled” and “ready to ship” becomes visible. [1]
10
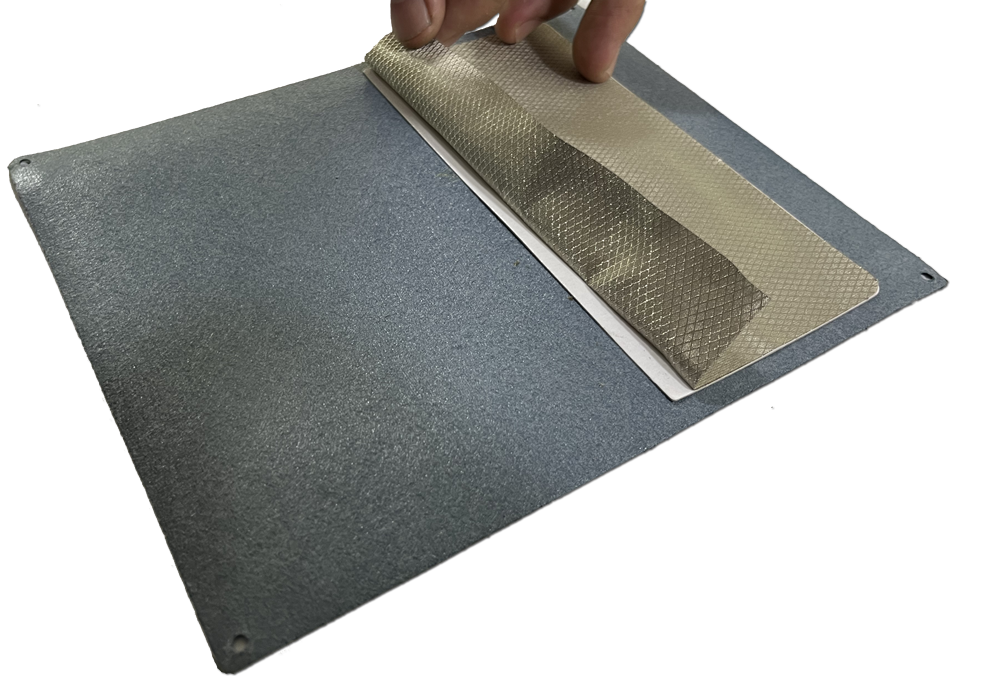
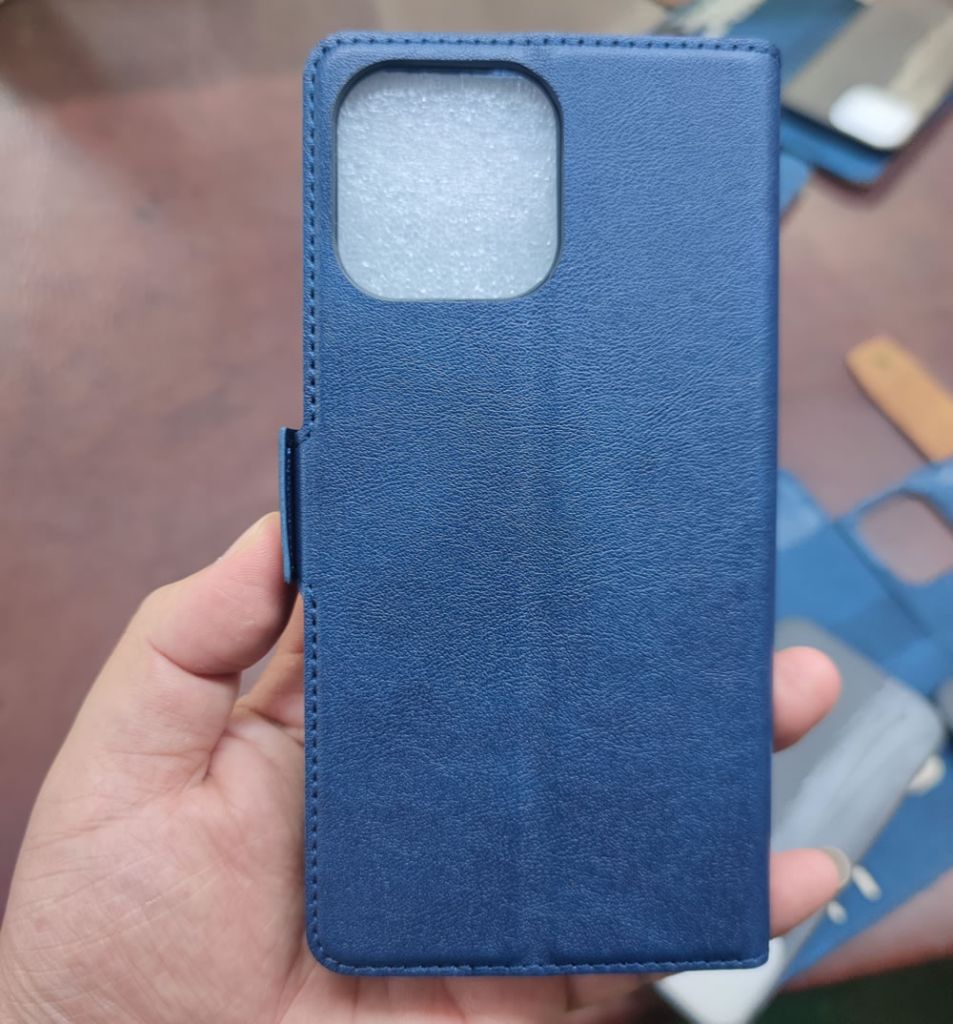
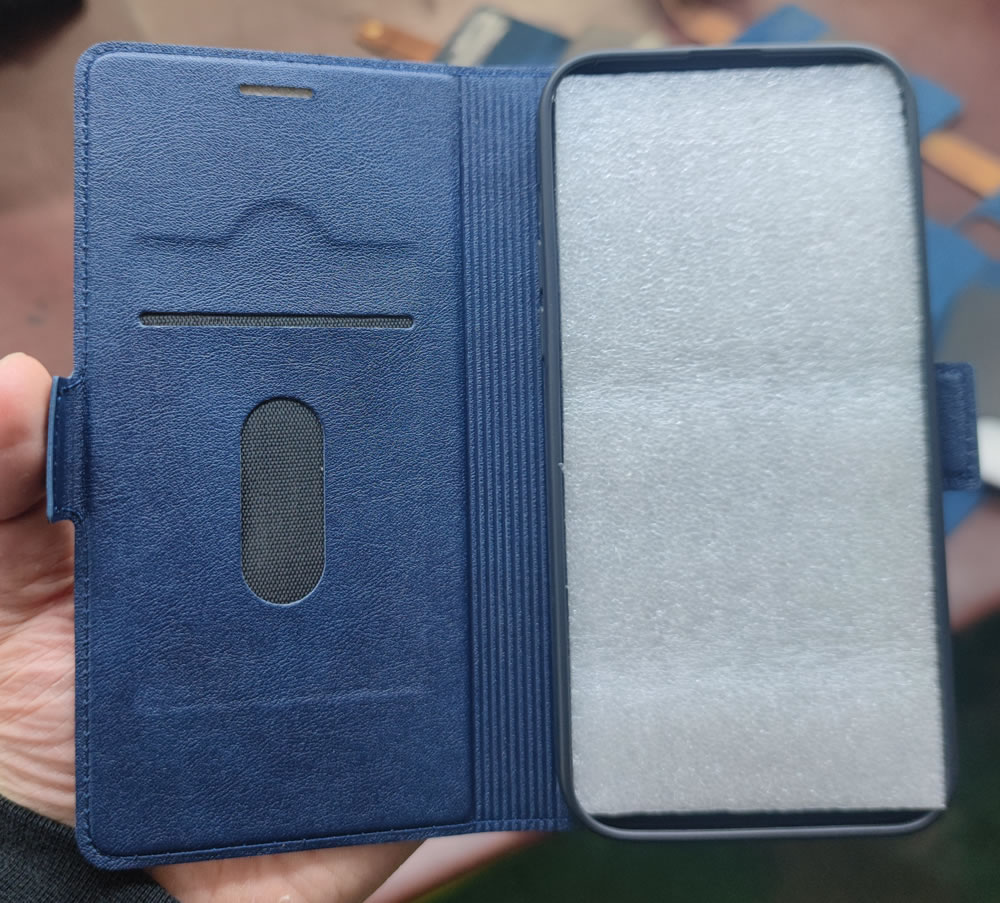
Holder bonding & completion
Attach the phone holder and complete the case
The final stages shown in the article are the cover ready for holder installation, adhesive application for the holder-bonding step, and finished inside and outside views. The page even notes that decades of experience inform the glue choices used here for durability. [1]